How to Take Screenshot on your iPhone 13 and other Model with FaceID
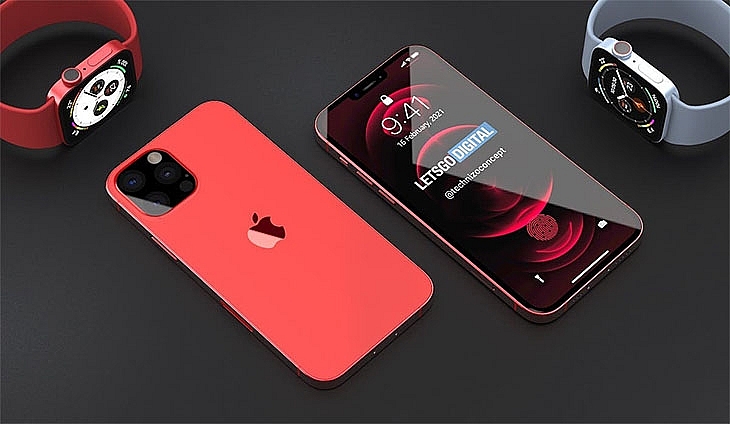
Here is the simple steps to take screenshots on your iPhone 13.
To capture your everything you see on your iPhone screen is a very simple task. So I wondered when I see this question keeps popping up in many iPhone communities I use to seek help.
Well, In this article, I have explained how you can screenshot on iPhone 13 and other model of iPhone with Face ID.
Key Points:
- Screenshot Process Differs Among iPhone Models
- It is used to quickly save what's on your screen.
- You can find saved screenshot on: open Photos, then go to Albums > Media Types > Screenshots.
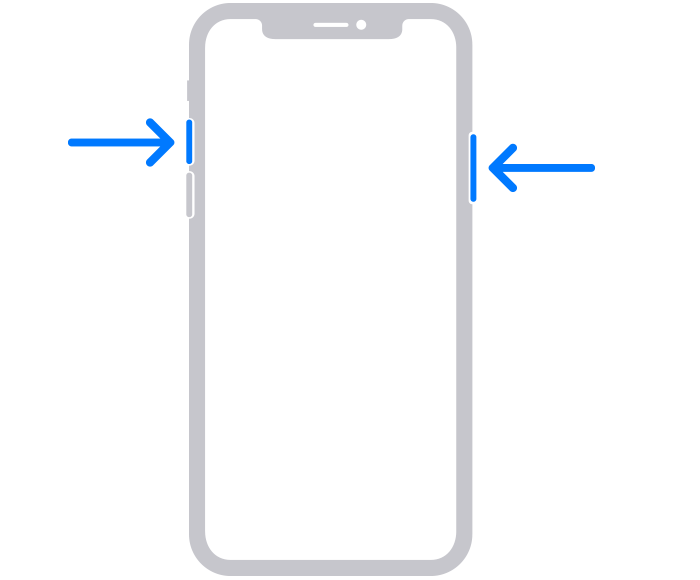
How to Take Screenshot on iPhone 13s
Follow the below instructions to quickly capture your screen on all iPhone 13 series.
- Press the side button and the volume up button at the same time.
- Release those buttons immediately to capture your screen.
After the screenshot, a thumbnail temporarily appears in the lower-left corner of your screen. You can tap the thumbnail to open the image or swipe left to dismiss it.
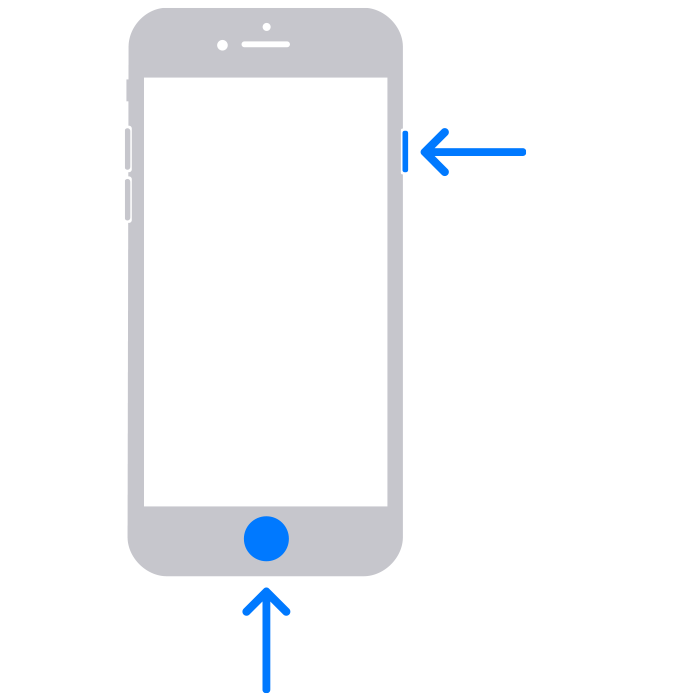
How to Take an iPhone with Touch ID and Side Button Screenshot
Follow the below steps to take screenshots on iPhone Models with Touch ID and Side Button.
- To take screenshot, press the side button and the home button at the same time.
- Free both button immediately to capture your iPhone screen.
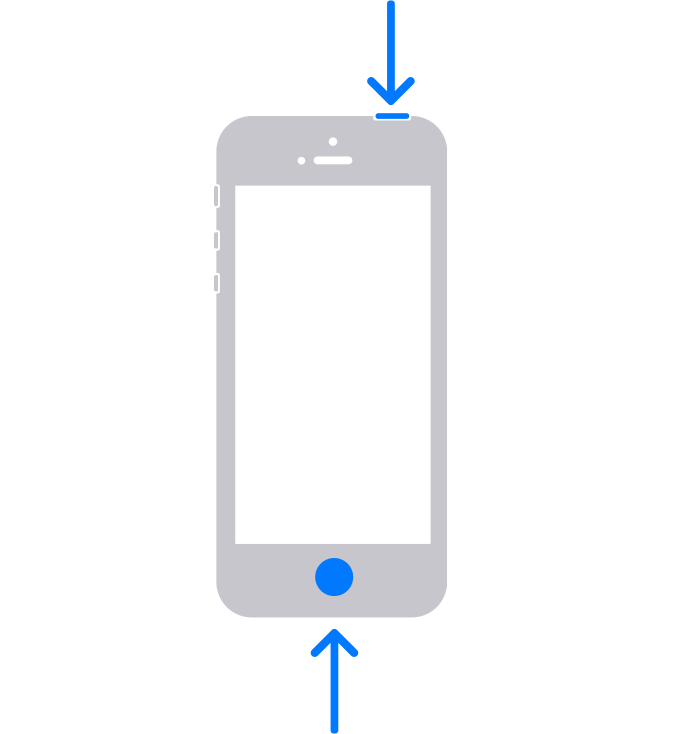
How to Take a Screenshot on iPhone Models with Touch ID and Top Button
Follow the below step by step instructions to capture screen on iPhones with Touch ID and Top button.
- Tap the top button and the home button at the same time.
- Release both button immediately to capture your screen.
I hope you find this article helpful. Do not hesitate to share with your friends that doesn't know how to screenshot on iPhone. Also this guides works for iPhone 13 Mini, iPhone 13 Pro and iPhone 13 Pro Max.
Images Source: support.apple.com


